Our Process From Earth to Sustainable Shelter
Each step of our process blends technology, craft, and care to create durable, eco-friendly dwellings
The Journey From Soil To Shelter
Our construction process is rooted in local materials and appropriate technology. From soil selection to structural finishing, every step ensures efficiency, strength, and sustainability
Step By Step Process
Field Soil Tests
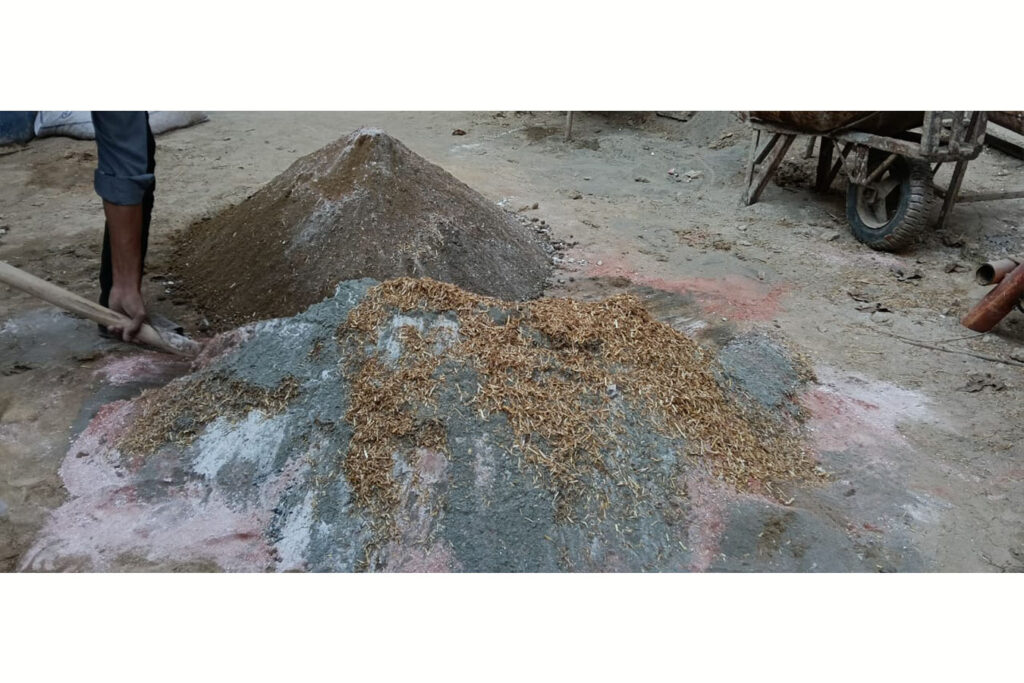
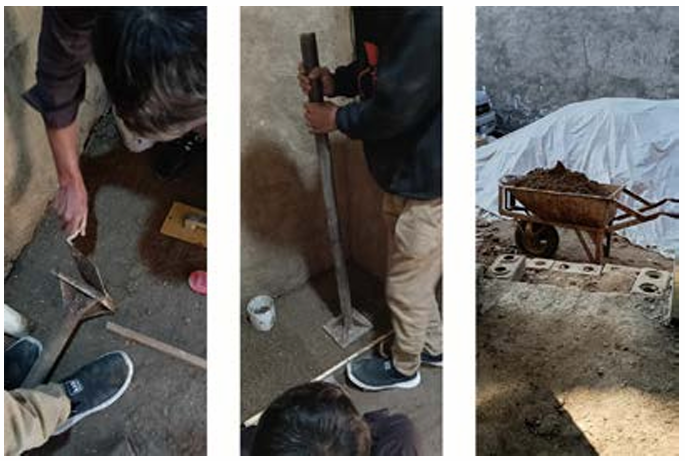
Soil Composition Test (Bottle/Bucket Test): Mix soil with water in a container, shake,settled layers, show about 65% sand at the bottom and 30-35% clay/silt on top.
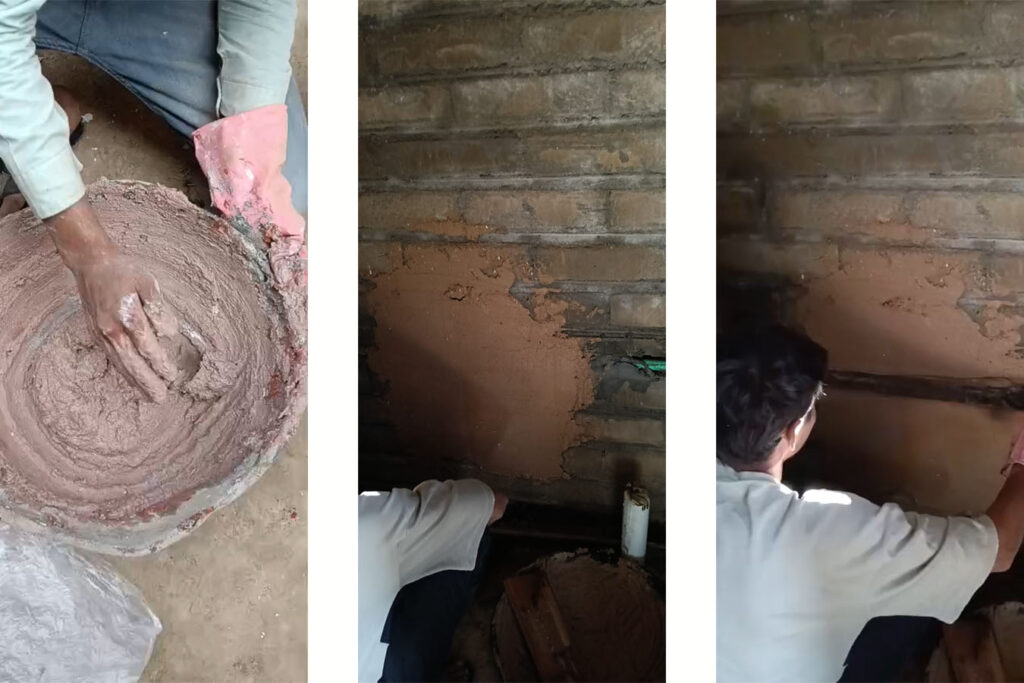
Plasticity/Thread Test: Mix soil with water and roll it into a thread (3mm diameter) to test cohesion.Cracks when bent, mean too much sand. Too sticky,means too much clay. It should just barely hold together.
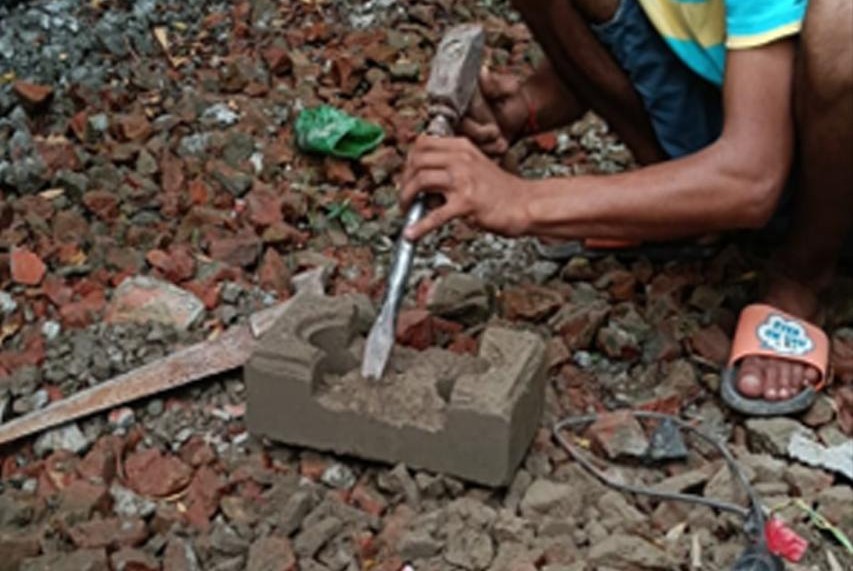
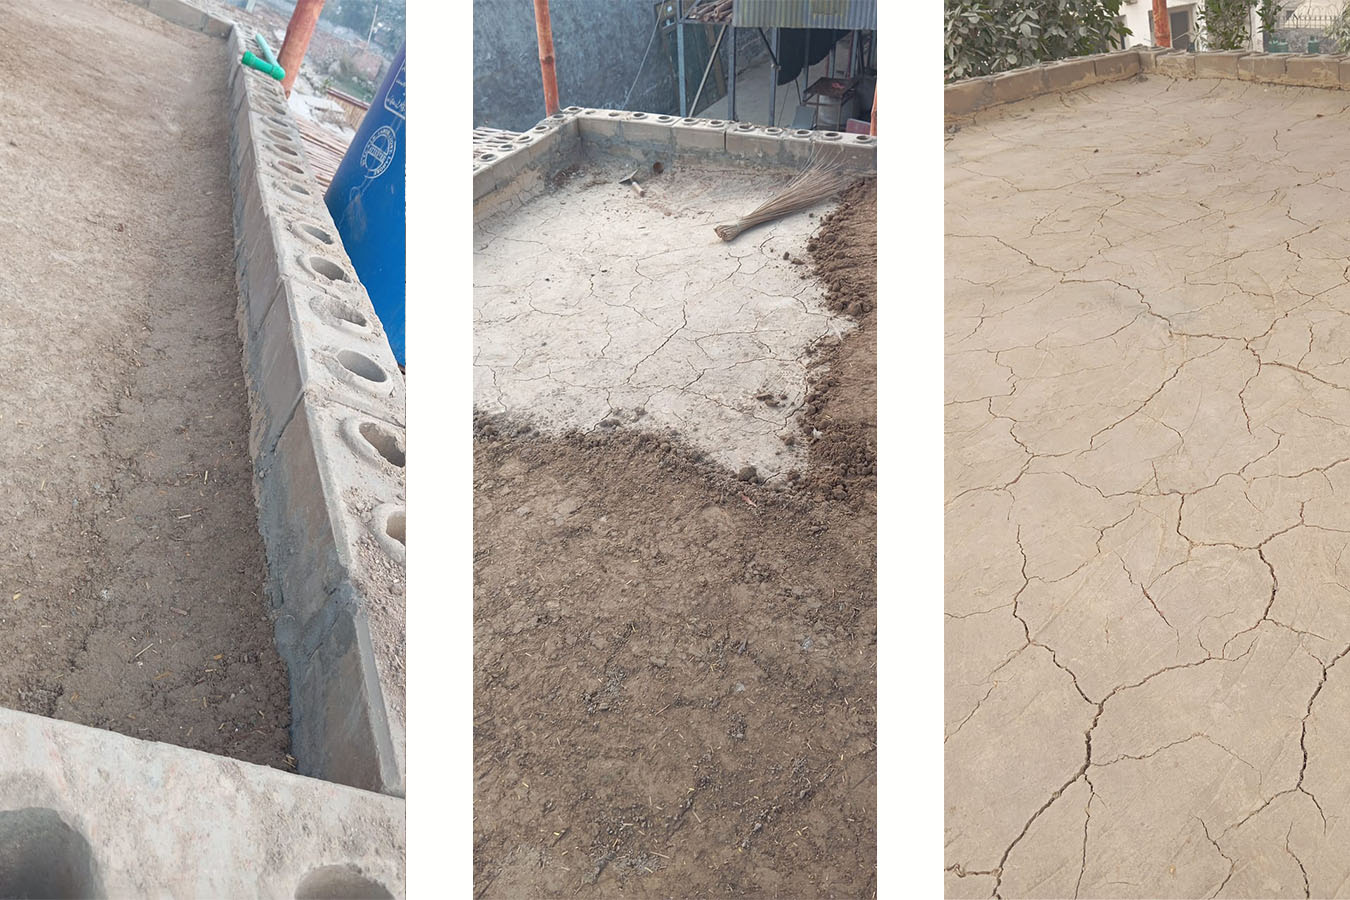
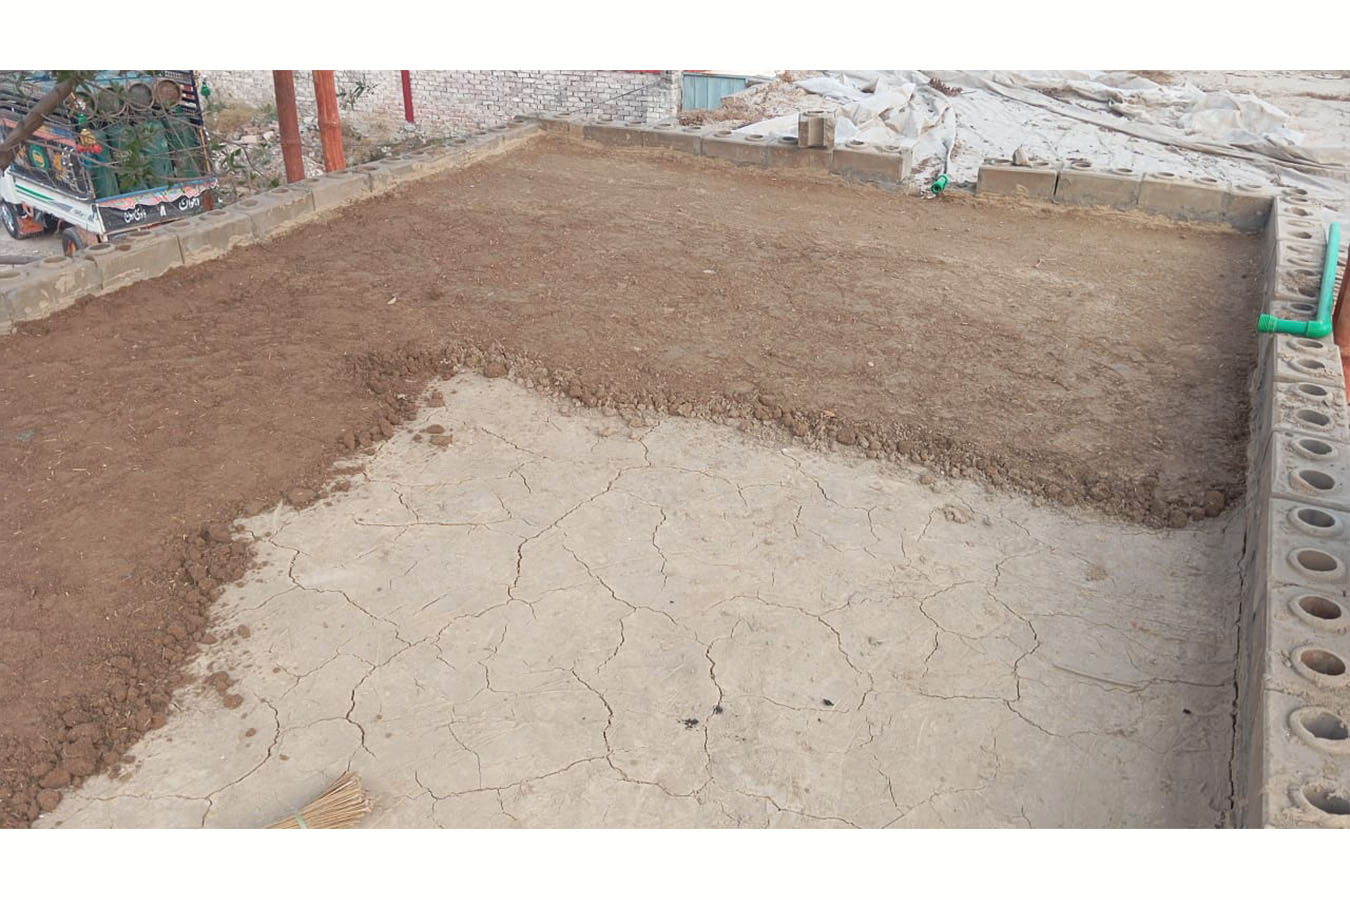
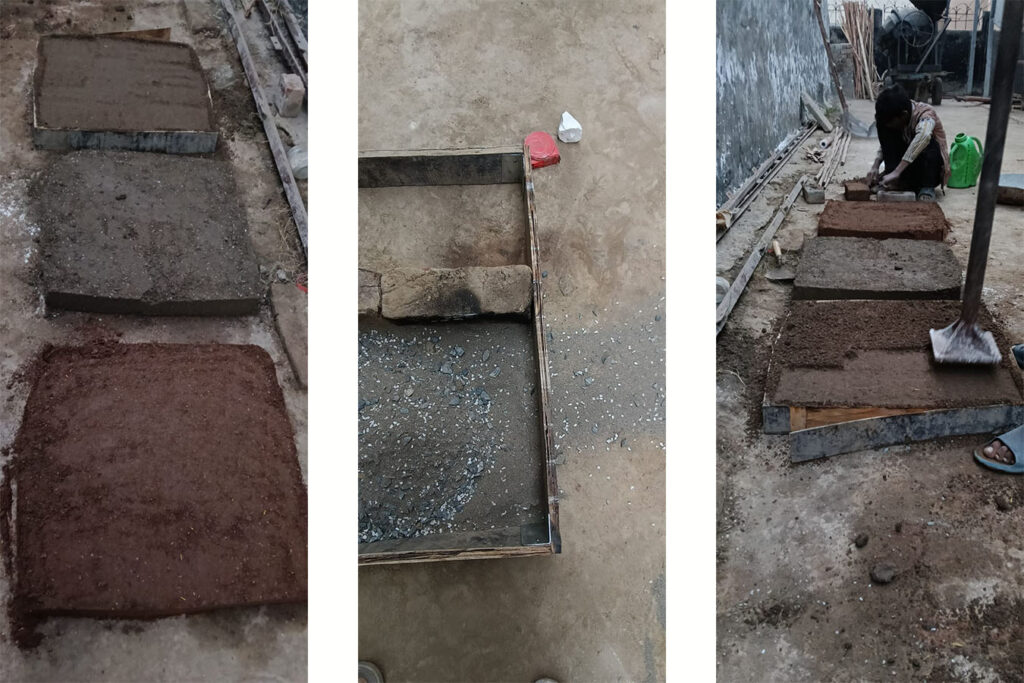
Dry Strength Test: Form small dry blocks (or balls) and let them dry completely. A good mix will be hard to break, while too much clay will crack upon drying, and too little will crumble
Soil Preperation
The ideal composition includes:
50% Clay – Acts as a natural binder that helps the soil particles hold together and provides plasticity during shaping.
40% Sand – Adds stability, reduces shrinkage, and improves the structural integrity of each block.
10% Stabilizer – Traditionally cement, but in a sustainable model it is replaced with lime or fly ash, which significantly reduces carbon footprint while maintaining excellent binding strength.
Block Production
Our mechanical 2-ton hydraulic press significantly increases production efficiency while maintaining consistent block quality. Operating on an 8-hour shift, the machine produces up to 300 CSEB blocks per day, achieves a strength of approximately 470 psi, ensuring durability and structural reliability.
Our ongoing development targets a compressive strength of 1500 psi, matching — and eventually surpassing — the strength of traditional fired clay bricks, while offering a far more sustainable and energy-efficient alternative.
Block Curing & storage
After pressing, the blocks are gently removed and stacked under a shaded, well-ventilated area. This stage is crucial: the blocks naturally cure and strengthen over time as moisture evaporates at a controlled rate.
Proper storage prevents cracking, ensures dimensional stability, incoorporates less embodied energy making the blocks
environmentally friendly.
Construction
Foundation
we begin with a 9″ footing wall raised to a plinth levle of of 1.5′
depending on the situation the foundations can be of brick coloumns like
stilts or bamboo piles ass well in this case we are presenting a basic brick
footing foundation the plinth levle is sealed with a waterproof membrane
and “loacke” tarpiene
BLOCK MASONRY
Block masonry is next carried out above the
plinth protection of 2″ the blocks are layed
with a thin layer of screed and the interlock
to form a strong bond .the blocks are 6″x1’x 4″
as well as a half block of 6″.bamboo can be
integrated at the foundation levle as well
however in this unit we began at the plinth
levle with 1″ bamboo at corners “t” joints and
every 3′ apart .this was followed by steel clmps
and screed for rinforceent .
Bamboo Roof Framing
Clump Beams of Bamboo are inoorporated
to for an orthagonal grid .with 3″ Bamboos
running across the shorter length and 2′
bamboo clumps along the longer length
followed by a 1″ bamboo lattice to seal the
structural web .
Roof Details
A layer of .06mmcellaphane is added for
water proofing the remainder of the
parapet folllows along with a 3″layers of
rammed earth followed by a lime
plastercob final finish ,this increases the
malability of the surface ,45deg chamfered
slopes are provided along the perifre of the
roof and slopes are maintained towards
the water spout .A bamboo wter spout is
integrated for drainage purposes.
Bamboo Lattice
Bamboo lattice shade is provided above the
pergolla structure which is revited onto
columns running along the outer length of
the structure .Cross bracing is also
considered to counter wind and rainstorm
pressure.
Doors and Windows
Doors and Windows can be considered
integrating a bamboo lattice as well as
hinges and stoppers .We have tried top
hung windows ,along with hinged doors .
POZZALONA FINISHES
A “first” coat of Pozzalonic finishes were
developed on site using slacked lime
(bhujja huwa chunna ),Brick dust,Marble
dust,sand,earthand hay ,
Wall Lime Plaster
A “second” coat of lime plaster sand /
lime/brickdust /gunda huwa matti 1/2″
thick was used to cover all bath
walls .This work took around 3 days to
finish
Rammed Earth Floor Samples
2″thick samples of rammed earth
were developed to review cracks and
curing we settled with ….and decided
to go with a higher ercentatge of
concreat in the bath area.this took
around 2 days of preperation and 2
days of ramming .
Final Floor "Cob" Coating
we used a cob which incoorporated
earth /manure /hay/ sand /and cement
method for the final coat .
Steps
Steps have an underlay of brick
ballast followed by a cementatcious
“cob”layers 2” thick .
Final External Finish
Plinth is protected by a 2″layer of
brick ballast followed by 1″ thick
layer of lime “cob ” followed by 1″
thick layer of cement manure
aggregate “Cob”
Finishing & Protection
Once cured, the blocks are used in construction and protected using natural breathable plasters made from lime, clay, straw, or pozzolanic mixtures. These coatings help regulate humidity, prevent mold, and protect the walls from weather exposure.
For additional resilience, surfaces may be finished with natural sealants such as linseed oil or beeswax, ensuring long-term durability without compromising breathability.
